
Equipment checklist for a new layer farm in Bangladesh
A walk through a layer house in build order: shed, brooding, cages, feed, water, air, light and manure, with what to decide and what gets forgotten.
Most equipment mistakes on a new layer farm are made in the first week, on paper, before anything is bought. The cages get chosen before the ventilation. The ventilation gets chosen before anyone checks the power. The manure route is left until the house is built and there is nowhere for it to go.
This is the order we would work in, with what to decide at each step.
1. The building
Everything downstream is limited by the shed, so measure it before you shop.
- Internal height to the lowest beam. This sets your tier count, and therefore your bird numbers.
- Length and width, which set your fan and pad sizing.
- Orientation, which decides how much afternoon sun hits the long wall.
- Whether it can be sealed. Tunnel ventilation only works in a house that leaks air where you want it to and nowhere else.
2. Power, before anything electrical
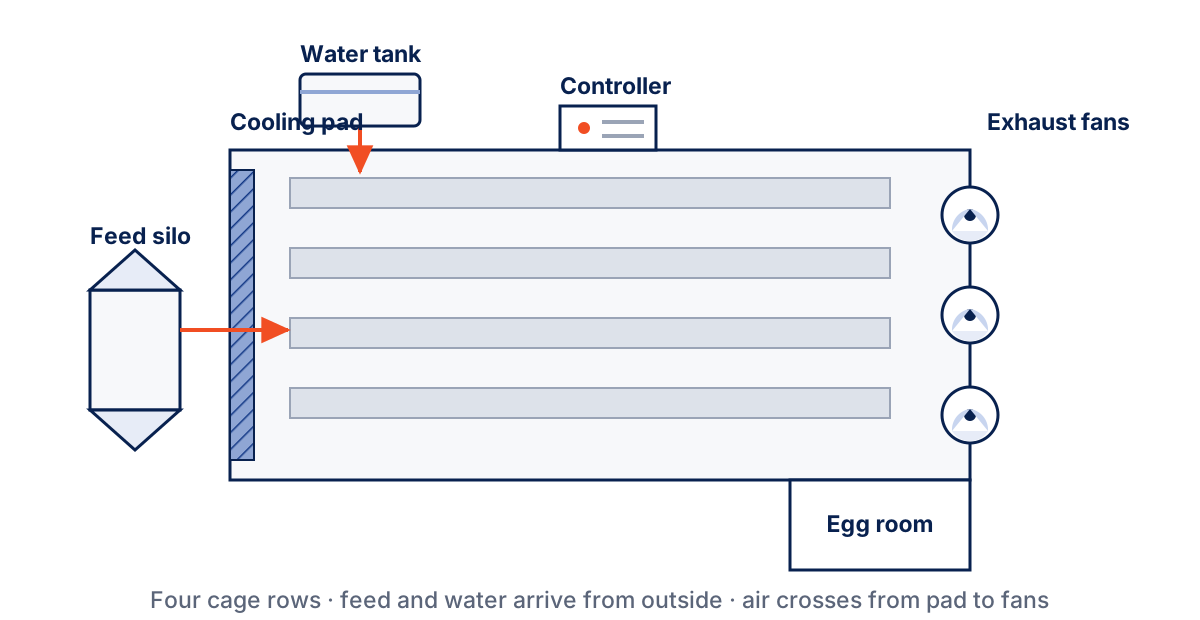
Cages, belts, feed lines, fans and controllers all run on electricity, and most of our fan range is 380 V three-phase. Settle two questions now: what supply you have at the site, and what your generator must carry when the grid drops on a hot afternoon. Write down which circuits are essential — fans first, always.
3. Brooding and rearing cages
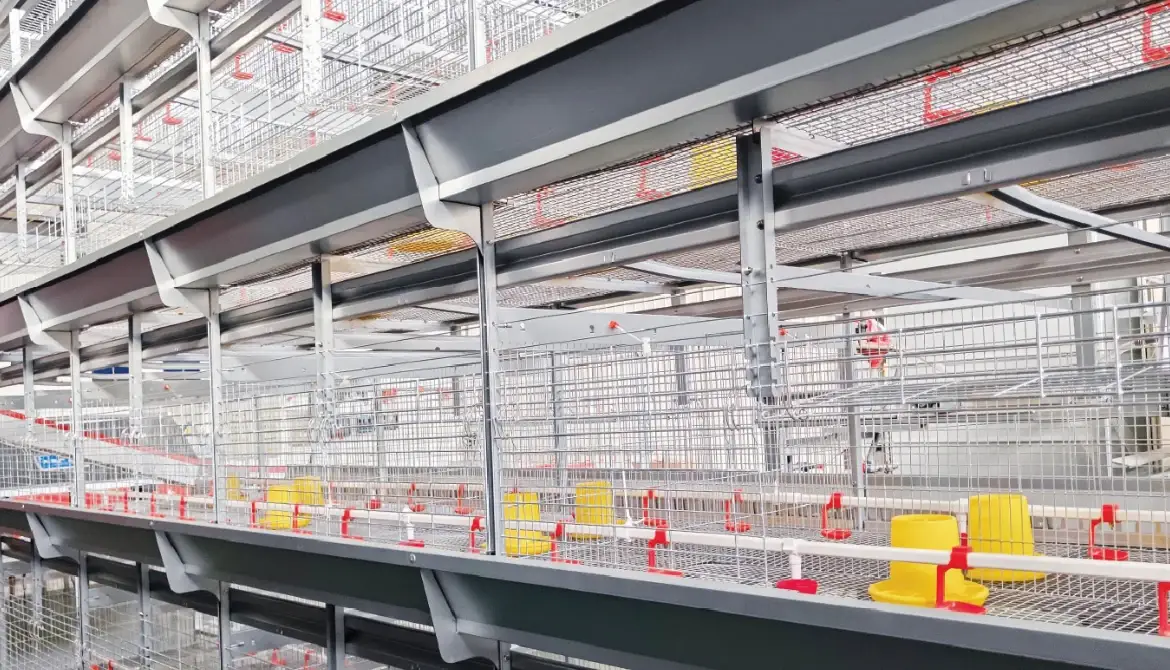
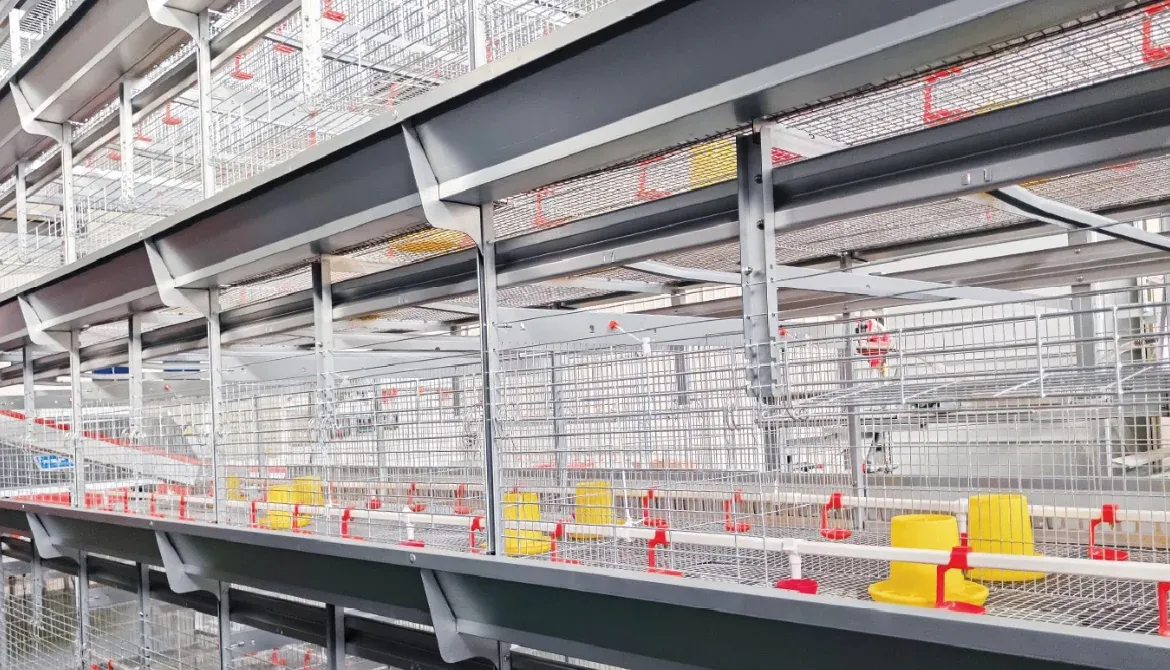
Pullets are reared before they lay, and uniformity at transfer sets the whole laying curve. The H-type brooding cage system for pullets is built for that job: large cages for chick uniformity, a patented drinking nipple, a front net designed so chicks cannot get out, a water line linked top to bottom, and triple early-warning on the environmental controls. The table runs 340 cm² per bird and 11 birds per cage across builds from three to eight floors.
Decide now whether you are rearing your own pullets or buying them. If you are buying, you skip this step — and you take on someone else’s uniformity.
4. Laying cages
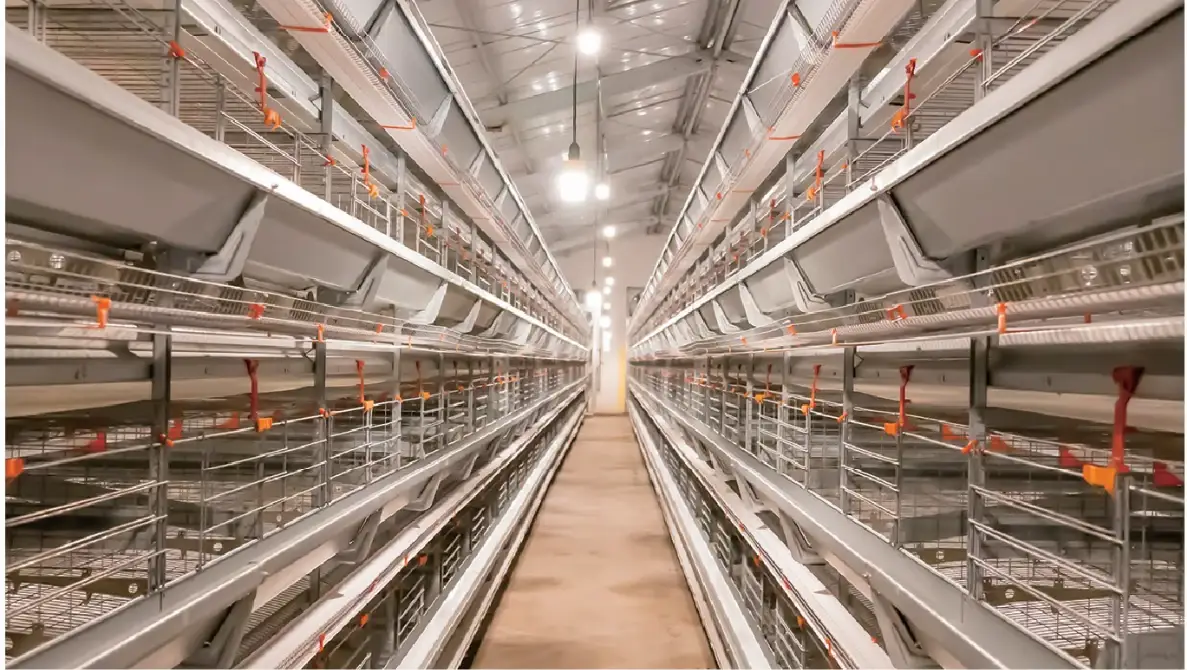
The H-type layer cage stacks in 3, 4 or 6 tier builds, 8 to 9 birds per cell, 650 mm per tier, saving about 70% of the land an A-type battery needs. How many tiers your shed supports is a measurement, not a preference — reading the cage specification properly walks through the arithmetic.
5. Feed: line and storage
Two separate decisions.
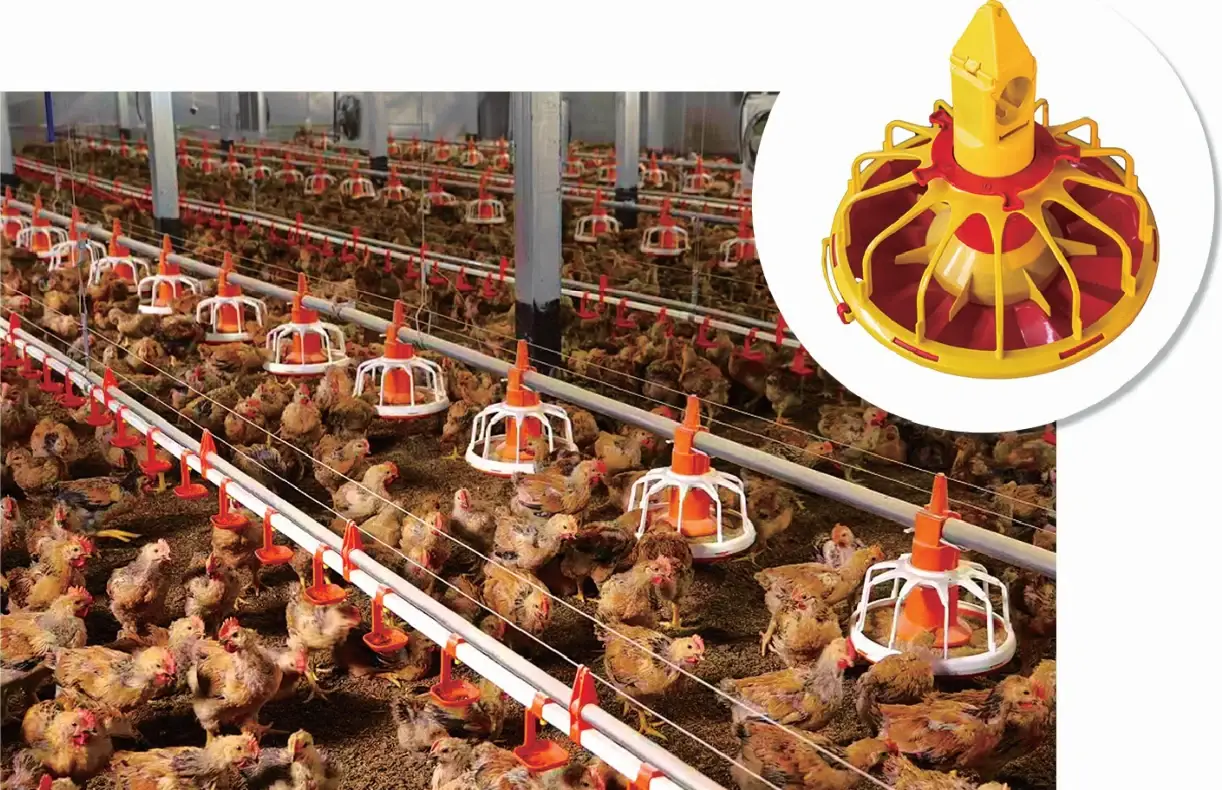
The line. An automatic pan feeding system with sensor-controlled filling, a 450 kg/h auger and pans that lift clear for cleaning. Whether it pays at your scale is a calculation we set out in when an automatic feeding line pays for itself.
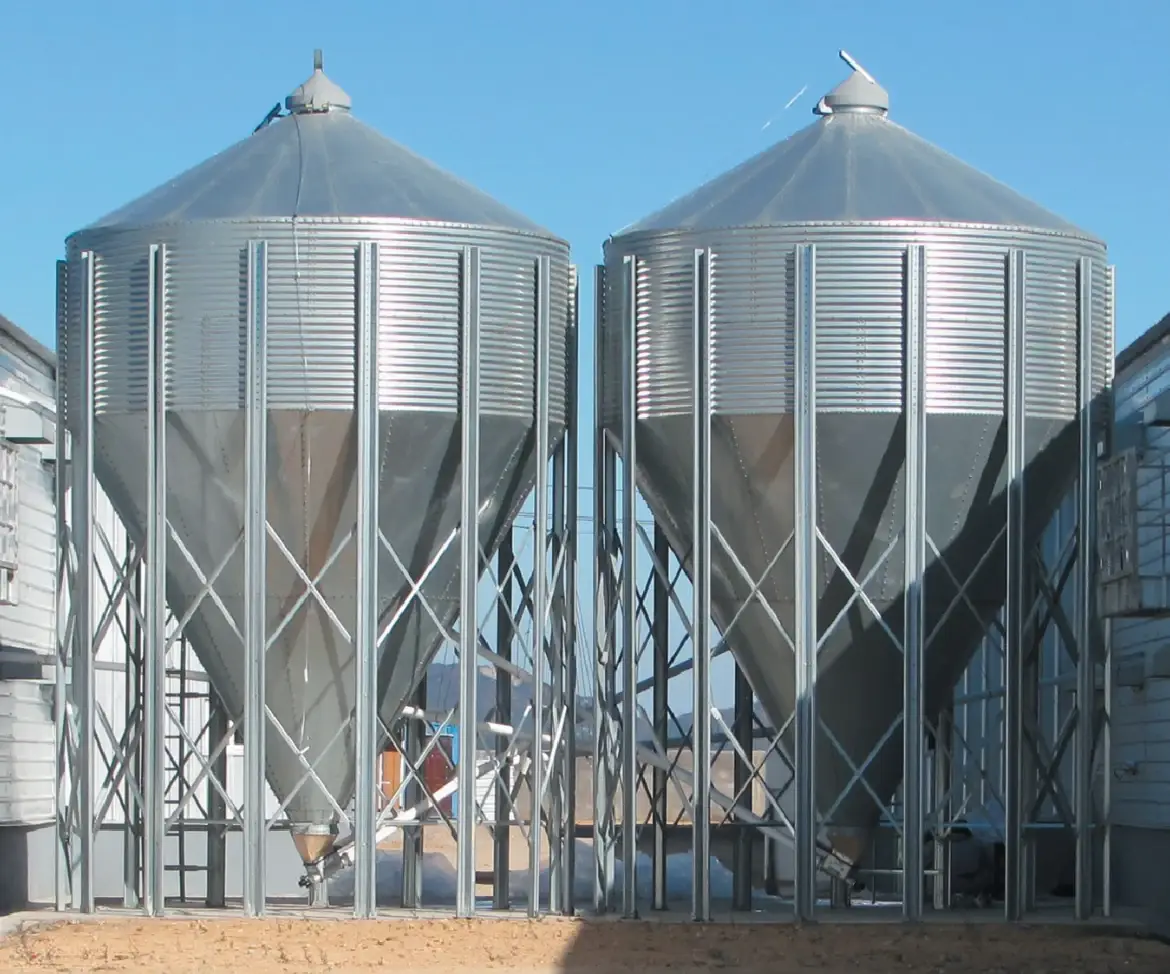
The storage. A hot-galvanised silo with an inspection hole on the hypo-cone. This is the item most often left out of a first budget, and the one that quietly costs the most when feed spoils through a monsoon.
6. Water
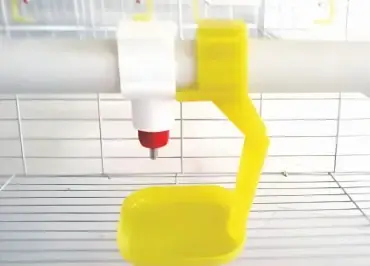
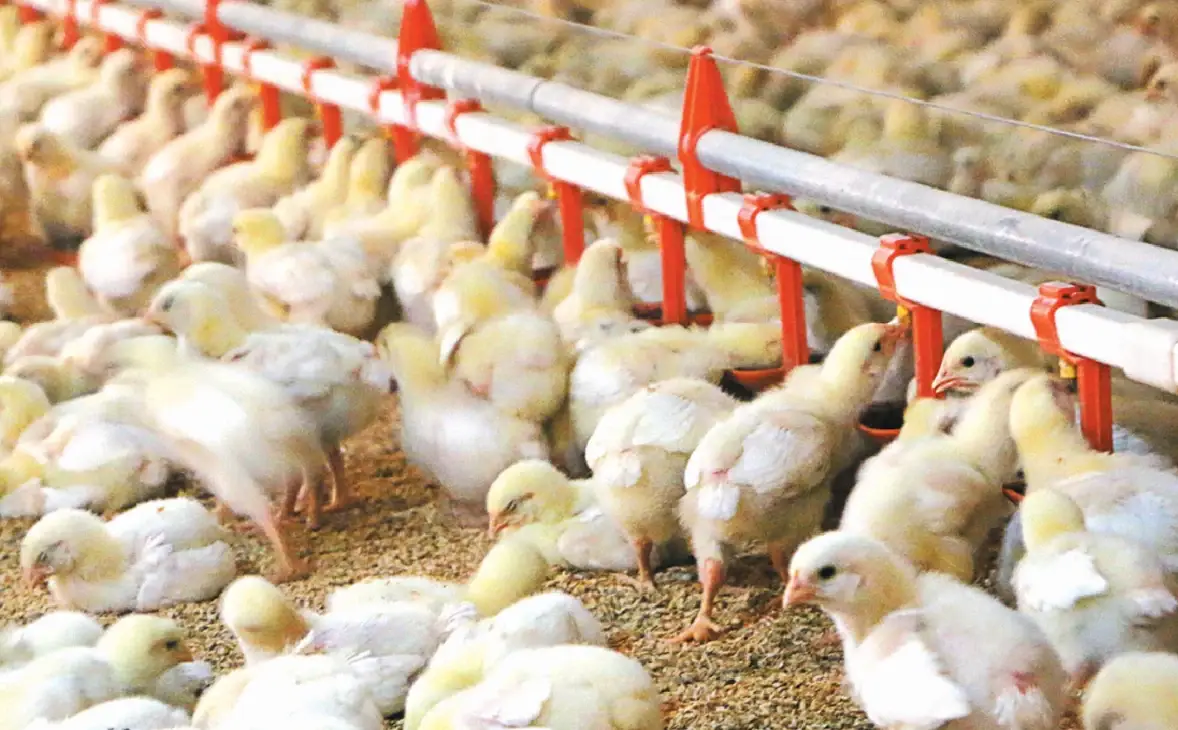
An automatic nipple drinking system — filter, meter, doser, regulator, nipples with drip cups. The doser runs on water pressure alone with no electricity, which is exactly what you want during load shedding. Add a water tank with enough capacity to carry the house through a supply interruption, and keep spare fittings on the shelf: filters, regulators, nipples and cups are consumables, not permanent fixtures. There is more detail in what wet litter really costs you.
7. Air and cooling
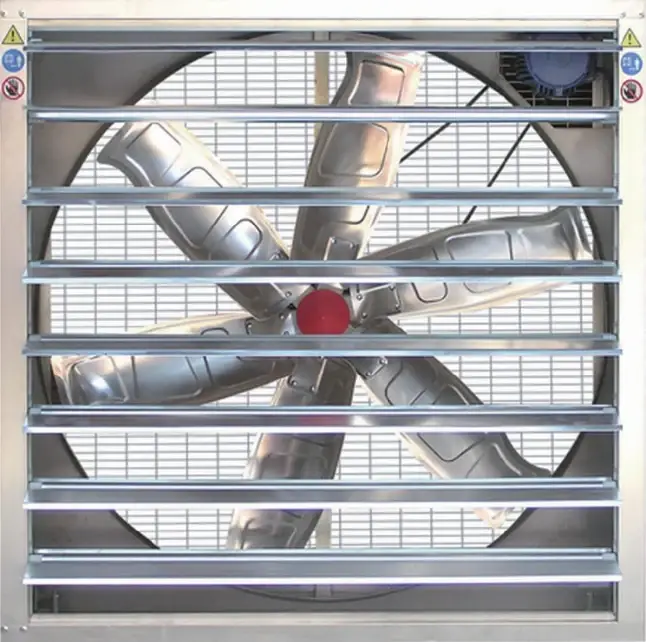
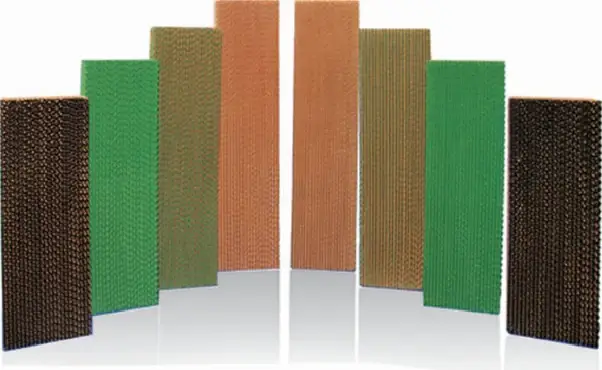
Fans first, pads second. Drop hammer exhaust fans cover 22,000 to 52,000 m³/h across six sizes, so the wall can be sized to the house. Air inlets control where fresh air enters. Evaporative cooling pads handle the hot dry weeks — and do less in high humidity, which is worth planning for honestly. The reasoning is in keeping a house cool through a Bangladeshi summer, and the fan choice itself in choosing an exhaust fan.
8. The controller
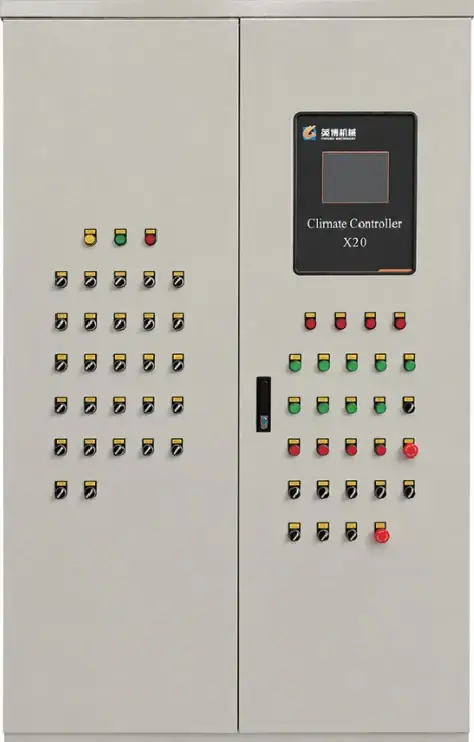
An environment controller runs the temperature curve, the minimum air volume curve and the light curve, switching fans, heaters, curtains, pads, lighting and feed lines, with monitoring from a phone. On a multi-tier layer house this is not a luxury item. Nobody adjusts a tall house correctly by hand at four in the morning.
9. Light
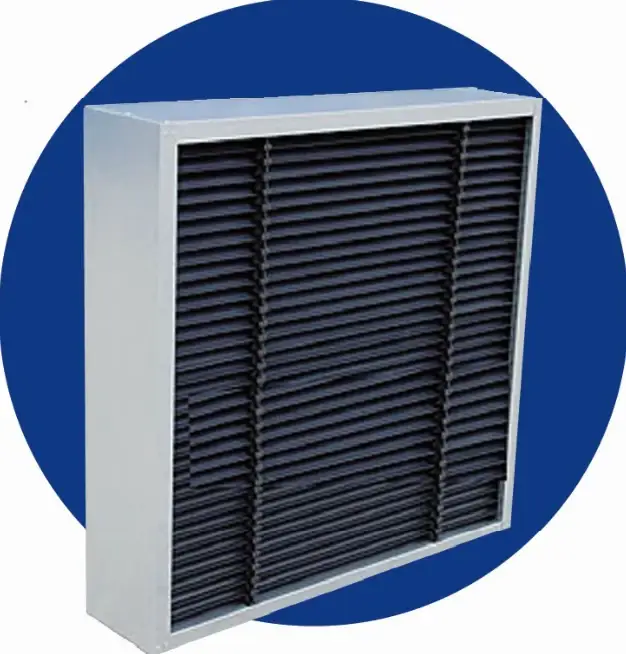
Lay is driven by the light programme, so the house has to be dark when you say it is dark. A light trap blocks daylight at the fan or inlet opening while keeping air resistance low — double-wave PVC sheets, modular, chemical-resistant and able to take high-pressure cleaning. Plan lighting between the cage stacks, not only overhead, so the lower tiers are not left in shadow.
10. Manure
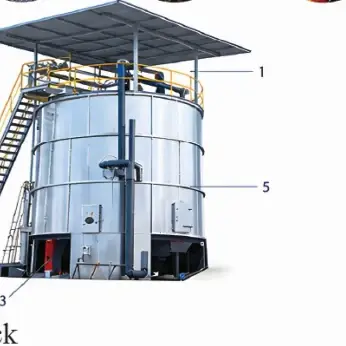
Belts under the tiers get it out daily. A vertical fermenter tank turns it into organic fertiliser in a sealed vessel with no gas leakage. Plan the route out of the house and the place it will be stored before the house is built — see turning manure into a second income.
11. Eggs
Somewhere clean, cool and shaded to collect, grade and hold eggs, with a door that does not open into the bird area. This gets forgotten in first plans surprisingly often.
12. Spares, before you need them
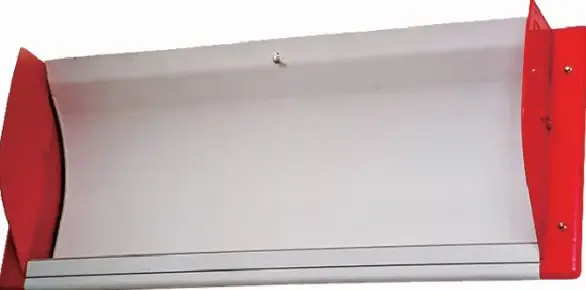
Keep on the farm: one fan motor, nipples and drip cups, a pressure regulator, filter cartridges, belt fixings, and a set of the fittings and troughs your house uses. The failure that costs you birds is never the expensive one — it is the small part that nobody had.
What to send us
Shed length, width and height to the lowest beam. Bird numbers you are planning for. Your power supply and generator. Whether you will rear your own pullets. What you intend to do with the manure. With those six answers we can lay out the whole house — cages, feed, water, air, light and manure — as one specification rather than a list of products.